Water damage can feel overwhelming when it first happens. Whether from a burst pipe, flooding, or a leaking roof, knowing what comes next helps you respond calmly and protect your property. The water damage restoration process step by step follows a proven sequence that professional restoration teams use to return homes and businesses to safe, livable conditions. Understanding these steps empowers you to act quickly, ask the right questions, and make informed decisions during a stressful time.
Water Damage Restoration Process Step by Step: Emergency Response and Assessment
The first phase begins the moment you contact a restoration professional. Speed matters tremendously in water damage situations, so reputable companies offer 24/7 emergency response. When technicians arrive, they conduct a thorough inspection to determine the scope of damage, identify the water source, and categorize the contamination level.
Water gets classified into three categories. Clean water comes from supply lines or rain and poses minimal health risk. Gray water contains mild contaminants from sources like washing machines or dishwashers. Black water contains severe contaminants from sewage or flooding and requires extreme caution. This classification shapes every decision that follows, from equipment selection to safety protocols.
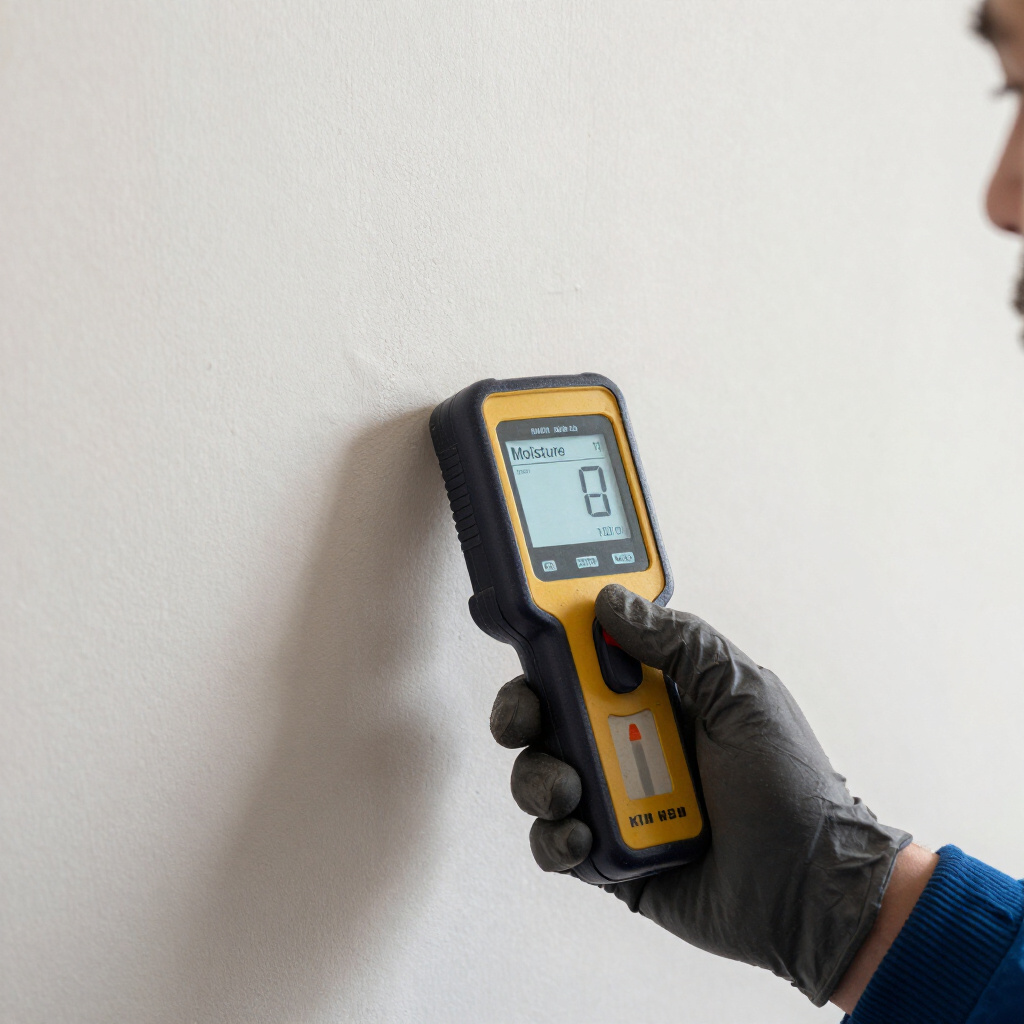
During assessment, technicians use moisture meters and thermal imaging cameras to detect hidden water behind walls, under floors, and in ceiling cavities. Surface-drying alone misses trapped moisture that breeds mold and causes structural rot. Documentation also begins immediately, with detailed notes and photographs that support insurance claims.
Water Extraction and Removal
Standing water causes damage exponentially faster than humidity alone. Wood absorbs water within hours. Drywall wicks moisture upward, destroying larger areas than initially visible. Metal fixtures begin corroding. The extraction phase removes all visible water using powerful truck-mounted pumps and industrial wet-dry vacuums.
Professionals work systematically from the lowest point upward, ensuring no pockets remain. Furniture gets moved or placed on blocks to prevent further damage and allow airflow underneath. Carpet padding often requires removal if saturated, since it acts like a sponge and rarely dries thoroughly in place. Hardwood floors need special attention—extraction must happen quickly to prevent cupping, warping, or permanent buckling.
Weight and volume determine equipment selection. Several inches of basement flooding demands different tools than a slow leak under a sink. Experienced technicians adjust their approach based on what they encounter, always prioritizing complete removal over surface appearance.
Drying, Dehumidification, and Monitoring
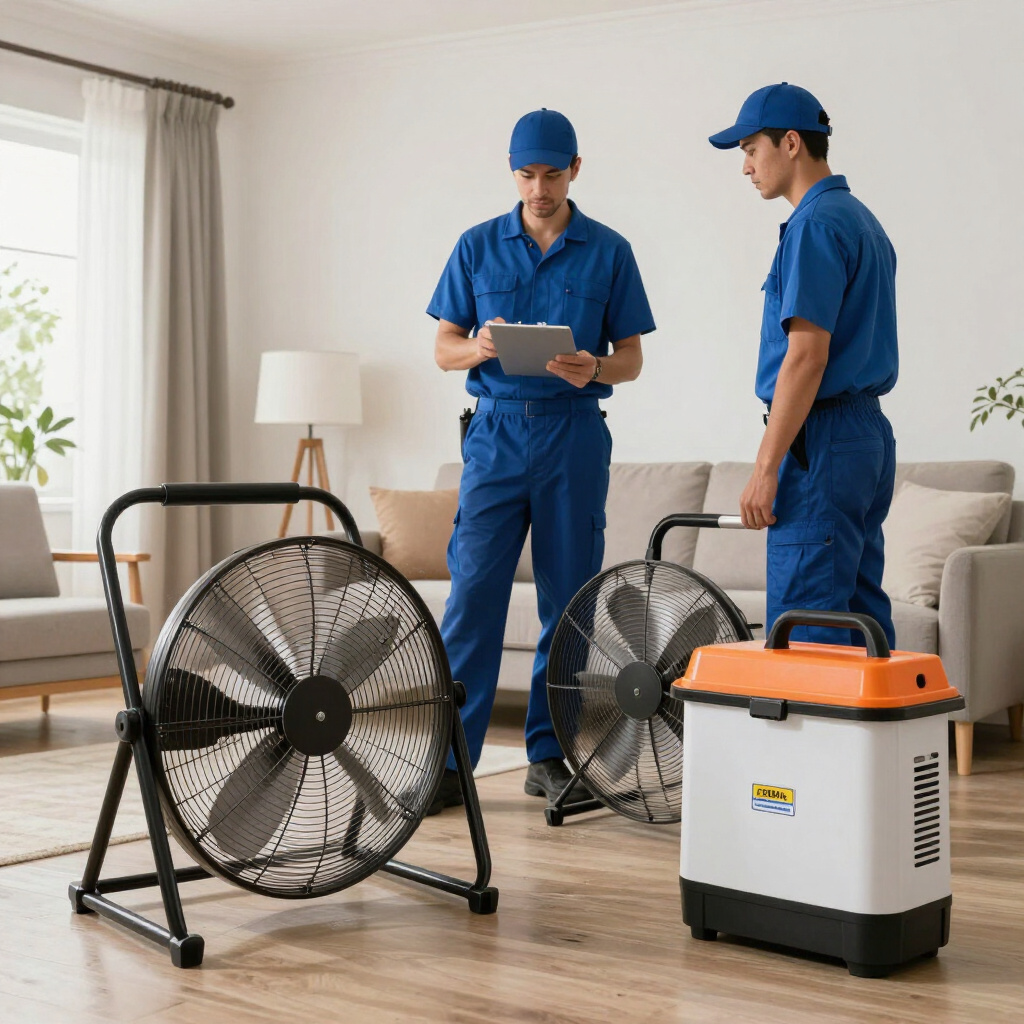
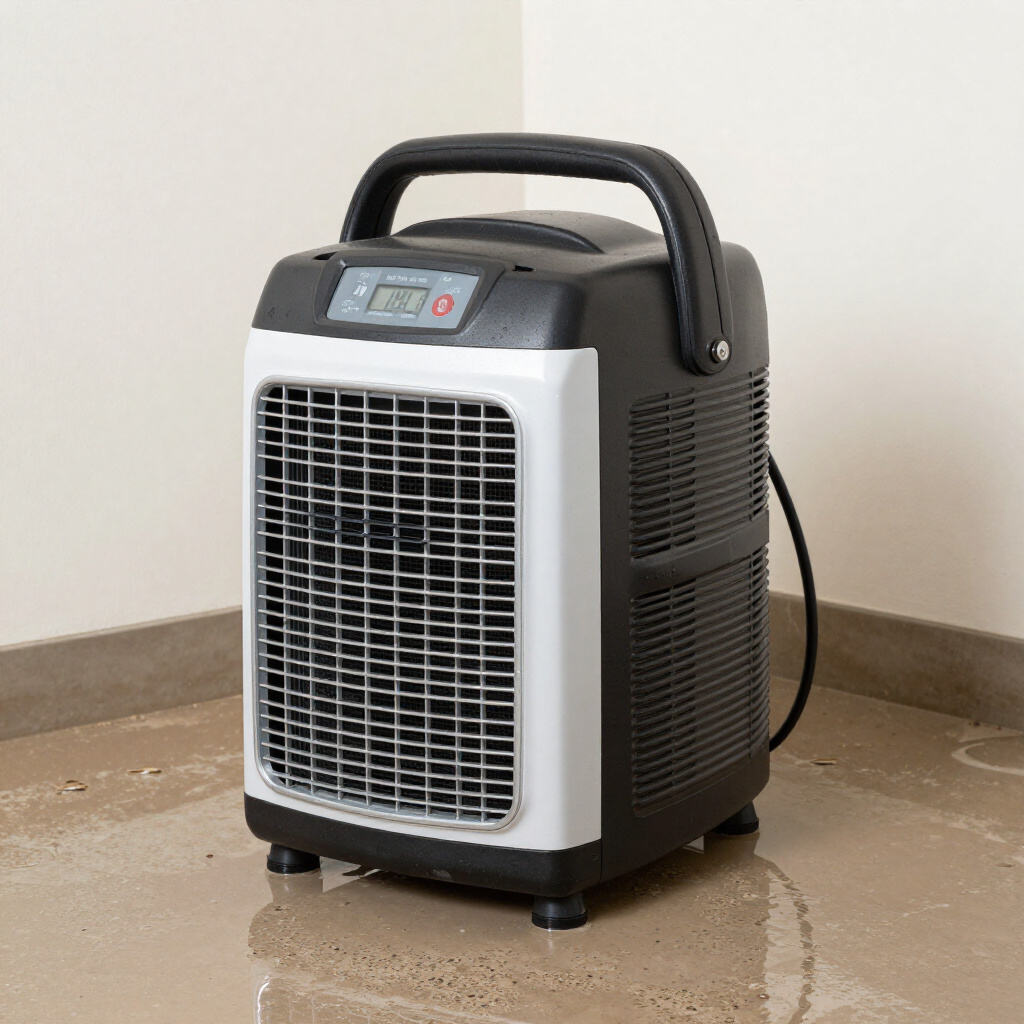
After extraction, structural drying begins. This phase separates professional restoration from DIY attempts that often fail. Industrial air movers create controlled airflow across wet surfaces, accelerating evaporation. Commercial dehumidifiers then pull moisture from the air, preventing it from reabsorbing into materials.
Equipment placement follows calculated patterns based on room dimensions, airflow dynamics, and moisture readings. Technicians position air movers at specific angles to create consistent circulation without blowing contaminants into clean areas. Dehumidifiers get sized to the space and humidity load—undersized units run constantly without achieving results.
Monitoring happens daily during this phase. Technicians return to check moisture levels, adjust equipment positions, and track progress toward dry standards. These readings get documented for insurance and quality verification. Most drying projects take three to five days, though severe cases may extend longer. Rushing this phase risks hidden moisture that triggers mold growth weeks later.
Cleaning, Sanitizing, and Odor Removal
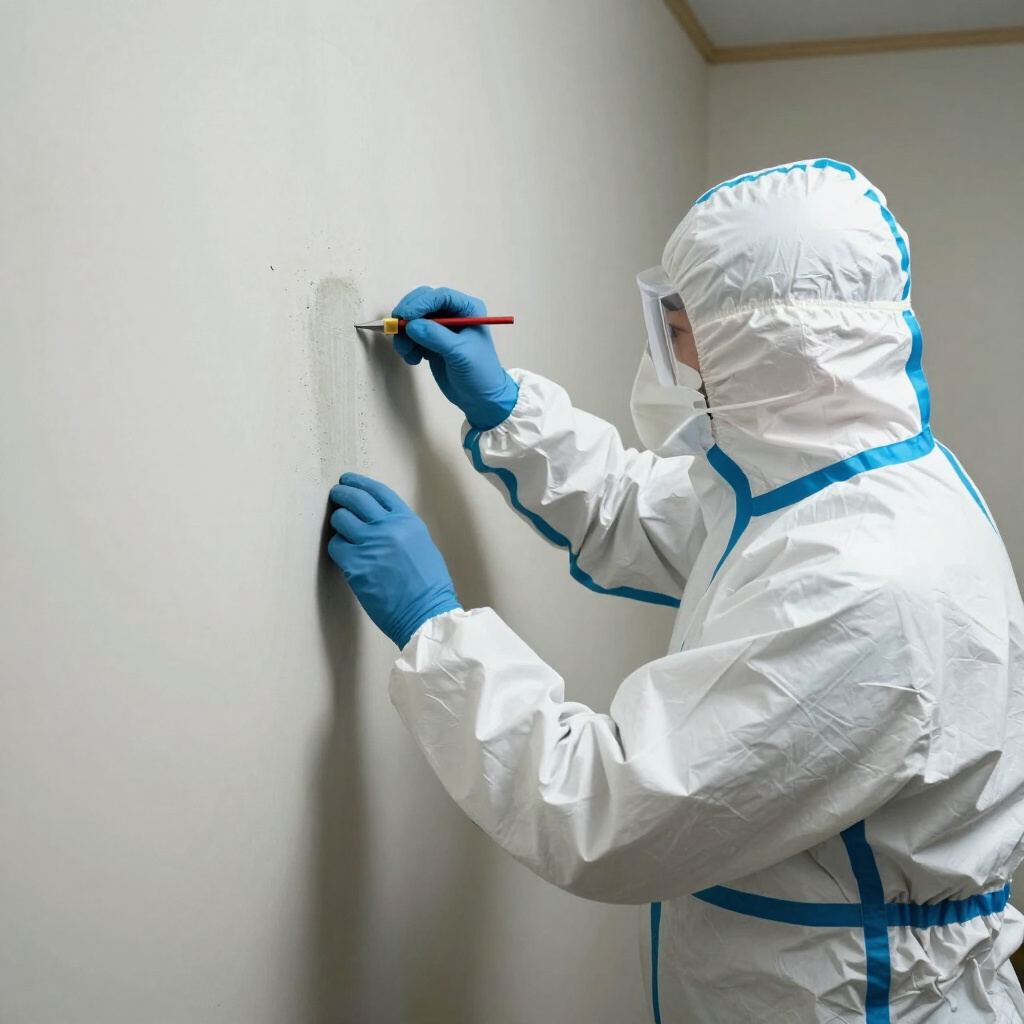
Water damage rarely leaves materials truly clean after drying. Contaminants, debris, and microbial growth require professional cleaning. Restoration teams use antimicrobial treatments on affected surfaces, particularly after gray or black water incidents. Porous materials like carpet, upholstery, and drywall may need replacement if cleaning cannot restore them safely.
Odor removal presents a common challenge that surface cleaning alone cannot solve. Musty smells indicate ongoing microbial activity or trapped moisture. Professionals deploy specialized techniques such as thermal fogging, ozone treatment, or hydroxyl generators depending on the odor source and affected materials. These methods neutralize odors at the molecular level rather than masking them.
Personal belongings receive individual attention where possible. Documents, photographs, electronics, and sentimental items may undergo specialized restoration through partner services. Not everything can be saved, but professional evaluation often recovers more than homeowners expect.
Key Tips for Navigating Water Damage Restoration
Your actions in the first hours significantly impact outcomes. Start by stopping the water source if safely possible—shut off the main valve for plumbing issues, or sandbag entry points during flooding. Then contact your insurance company and a certified restoration professional simultaneously.
Document everything before moving or discarding anything. Photograph damage from multiple angles, noting dates and times. Save receipts for emergency purchases like fans, temporary lodging, or protective supplies. Most policies cover reasonable mitigation expenses when documented properly.
Never enter flooded areas with active electrical hazards. Water conducts electricity, and unseen dangers may exist. Wait for professional assessment before using outlets, appliances, or HVAC systems that contacted water.
Choose restoration companies with IICRC certification, which ensures training in established industry standards. Verify they carry proper insurance and can provide references. Beware of door-to-door contractors appearing after widespread flooding events—legitimate professionals do not need to solicit work aggressively.
Finally, insist on complete documentation of the drying process. Reputable companies share moisture readings, equipment logs, and photographic evidence. This protects you if questions arise later about whether proper procedures were followed.
Final Thoughts
Water damage disrupts daily life and threatens property value, but the water damage restoration process step by step provides a clear path forward. From emergency response through final repairs, each phase builds on the previous one to ensure complete, lasting recovery. Professional restoration combines specialized equipment, certified expertise, and systematic documentation that DIY efforts simply cannot replicate.
The most important step you take is the first one: calling for qualified help without delay. Every hour matters when water invades your space. With prompt action and the right restoration partner, even significant water damage resolves completely, returning your property to the safe, comfortable condition you depend on.